Home > Administrator User Manual > 2 Managing Your AEPSi Account > 2.5 Broadcast Messages
2.5 Broadcast Messages
As an administrator you have the ability to create messages that will be displayed on the My AEPSi home page for all users in your program.
2.5.1 Create Message
To create a message:
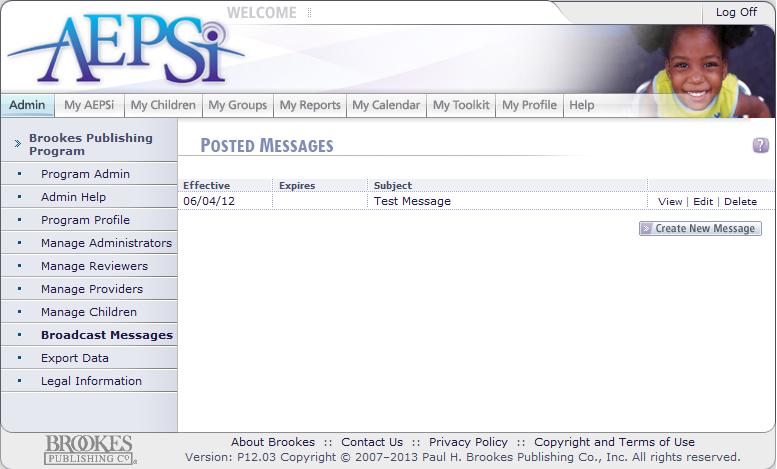
Select the "Admin" tab.
Select the "Broadcast Messages" link from the left menu navigation.
Click the "Create New Message" button.
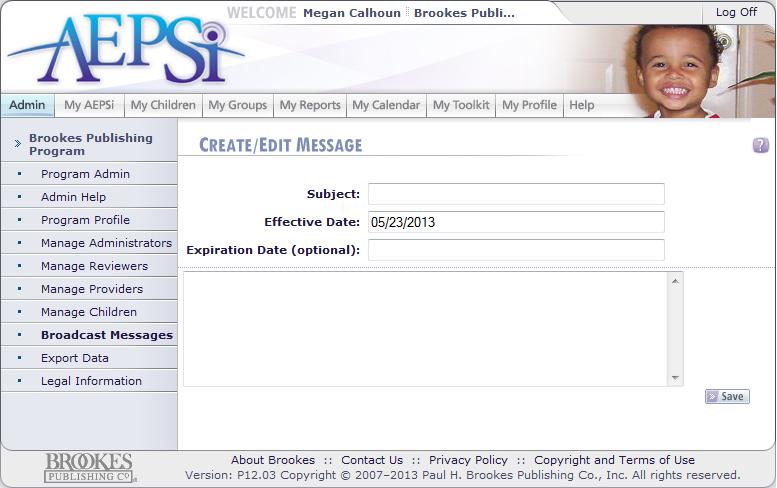 Enter a subject for your message. Enter a subject for your message.
Enter the effective date for your message. The default date will be today's date. This is the date your message will appear on the user's My AEPSi home page.
You have the option to enter an Expiration Date for a message. Once a message has expired it will no longer appear on the user's My AEPSi home page. Leave this field blank to keep the message displayed on the home page.
Type your message in the text area box.
Click the Save button.
Note: Avoid copying and pasting text from Word, as it can have unexpected results. Curly quotes, curly apostrophes and other special characters will be converted into "?" This tool works best by typing messages directly into it, and not by copying and pasting formatted documents. We also recommend avoiding the use of < and > as they can have unexpected results, too.
2.5.2 View/Edit/Delete Message
To edit or delete a message, click the view, edit, or delete link next to your message. Deleting a message will permanently remove the message from your list of Posted Messages and from the My AEPSi home page of all users.
2.5.3 Add Hyperlink to a Message
You also have the ability to include hyperlinks in the text of your message. When users select the hyperlink, the website will appear in an internet browser window. To add a hyperlink to a message:
Insert a hash mark (#) before and after the hyperlink. For example, to create a hyperlink for http://www.cnn.com, you would type #http://www.cnn.com#
Note: Be sure to include http:// or https:// in front of the URL or website address.
Previous | Next
See also

2.1 Navigating the Program Administration
2.2 Program Profile
2.3 Subscription Details
2.4 Custom Fields
| 


 Page URL: